Mark Required Fields In Legal Options Templates For Free
How it works
-
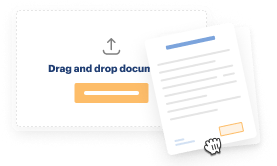
Import your Options Forms from your device or the cloud, or use other available upload options.
-
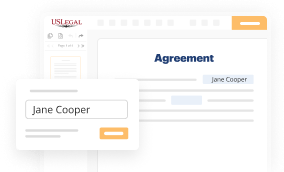
Make all necessary changes in your paperwork — add text, checks or cross marks, images, drawings, and more.
-
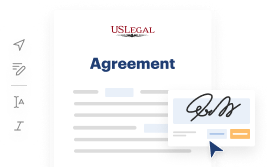
Sign your Options Forms with a legally-binding electronic signature within clicks.
-
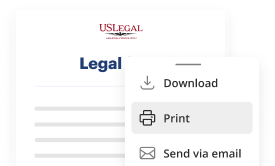
Download your completed work, export it to the cloud, print it out, or share it with others using any available methods.
How to Mark Required Fields In Legal Options Templates For Free
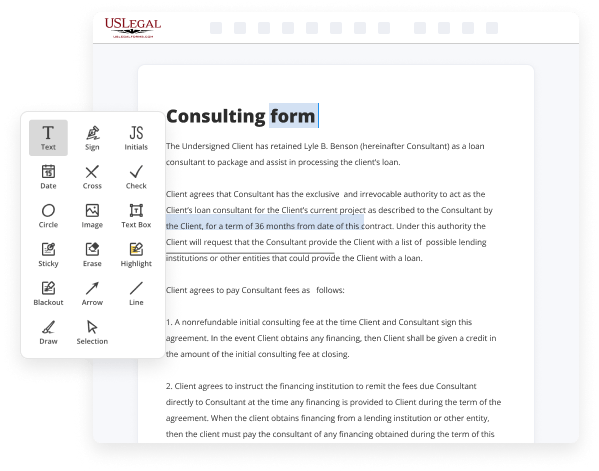
Legal paperwork necessitates utmost accuracy and prompt execution. While producing and finalizing documents often consumes considerable time, web-based document editors showcase their utility and effectiveness. Our platform is available if you’re looking for a trustworthy and intuitive tool to Highlight Necessary Sections In Legal Options Templates For Free swiftly and securely. Once you experience it, you will be astonished at how simple handling formal documentation can be.
Distribute a copy with others or send it to them for validation via email, a signing link, SMS, or fax. Request online notarization and get your document quickly witnessed. Envision carrying out all of that manually on paper when just a single mistake compels you to reprint and refill all the details from scratch! With digital services like ours, processes become significantly simpler. Give it a shot now!
- Upload your document via one of the offered methods - from your computer, cloud storage, or PDF library.
- You may also receive it through an email, a direct link, or from a request made by another individual.
- Utilize the upper toolbar to complete your document: start entering text in input fields and click on the checkbox fields to select suitable choices.
- Implement other vital modifications: insert images, lines, or symbols, highlight or remove certain elements, etc.
- Employ our supplementary tools to arrange pages - add new sheets, change their sequence, eliminate unnecessary ones, add page numbers if they are absent, etc.
- Include more fields to your document asking for different types of information and place watermarks to safeguard the material from unauthorized duplication.
- Verify the accuracy of the information and sign your documents - generate a legally-binding digital signature in your desired manner and position the current date alongside it.
- Click Finish when you are set and choose where to store your file - download it to your computer or upload it to the cloud in any file format you require.

Benefits of Editing Options Forms Online
Top Questions and Answers
To indicate optional fields in legal options templates, you can include terms such as 'Optional' or 'Not Required' next to the field. This clear labeling helps users navigate the form, ensuring they only complete necessary sections while understanding that they can skip some fields if they choose. Such clarity contributes to a seamless user experience.
Tips to Mark Required Fields In Legal Options Templates For Free
- Use an asterisk (*) or red color to indicate required fields
- Clearly label the required fields with a descriptive message
- Avoid using checkboxes or any other format that may be confusing
- Provide a legend or key to explain the marking system
- Regularly review and update the list of required fields
It is important to clearly mark required fields in legal options templates to ensure that users provide all necessary information. This can help prevent errors and ensure compliance with legal requirements. The editing feature for marking required fields may be needed when creating or customizing legal documents, such as contracts, agreements, or forms.
Related Searches
How to Mark the Required Fields? There are at least two options here: an asterisk (whether red or not) and the word ?required?. Form titled ... Save your file. Select it from your records list. Then, click the right toolbar and select one of the various exporting options: save in numerous formats, ... Get your online template and fill it in using progressive features. Enjoy smart fillable fields and interactivity. Follow the simple instructions below: The ... Create a document template that can be used to generate a ... Mandatory, Option for marking the field as required to be filled by the ... You will need to override the field template, that is your only option, unless you use a css hack (maybe something :before and :after for ... A Necessary Preliminary: Turn OFF Show/Hide; Options for formatting the TOA ... Mouse: Go to the References tab and click Mark Citation:. Universally required fields retain their status when you're working with them on a Dynamic Forms-based Lightning page. But you can make other fields requi. How you choose to mark fields as required is not a part of material design. You've already noticed that some applications choose to use the ... You can explicitly list all the fields you want to copy or use handy options like All fields or All fields except. Note. Required fields are ... The Offer Template supports single select option and doesn't support selecting multiple values for Location and Position field, even if it's possible on the Job ...
Industry-leading security and compliance
-
In businnes since 1997Over 25 years providing professional legal documents.
-
Accredited businessGuarantees that a business meets BBB accreditation standards in the US and Canada.
-
Secured by BraintreeValidated Level 1 PCI DSS compliant payment gateway that accepts most major credit and debit card brands from across the globe.
-
VeriSign secured#1 Internet-trusted security seal. Ensures that a website is free of malware attacks.