Delete Pages From Word Shopping Centers Templates For Free
How it works
-
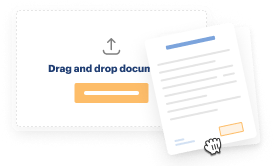
Import your Shopping Centers Forms from your device or the cloud, or use other available upload options.
-
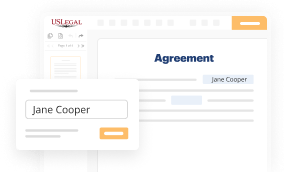
Make all necessary changes in your paperwork — add text, checks or cross marks, images, drawings, and more.
-
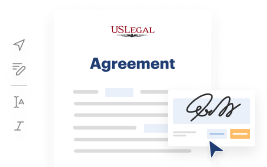
Sign your Shopping Centers Forms with a legally-binding electronic signature within clicks.
-
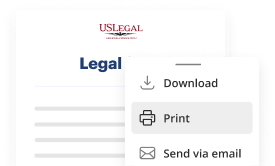
Download your completed work, export it to the cloud, print it out, or share it with others using any available methods.
How to Delete Pages From Word Shopping Centers Templates For Free
Web-based PDF editors have demonstrated their reliability and efficiency for executing legal documents. Utilize our secure, rapid, and user-friendly service to Remove Pages From Word Shopping Centers Templates At No Cost from your files whenever you require them, with minimal effort and optimal accuracy.
And that’s how you can finalize and share any personal or professional legal documentation with just a few clicks. Give it a go today!
- Import a document into the editor. You can select from several alternatives - upload it from your device or the cloud, or acquire it from a template library, an external link, or an email attachment.
- Complete the empty sections. Position the cursor on the first vacant area and use our editor's navigation to proceed step-by-step to ensure nothing is overlooked on your template. Utilize Text, Initials, Cross, and Check functionalities.
- Make the essential alterations. Revise the form by inserting images, drawing lines and icons, highlighting important aspects, or eliminating any extraneous ones.
- Add additional fillable areas. Modify the template by including a new section for input if necessary. Use the toolbar on the right side for this, placing each field where you anticipate others will enter their information, and set the remaining fields as required, optional, or conditional.
- Organize your pages. Remove sheets you no longer require or create new ones using the appropriate button, rotate them, or change their sequence.
- Generate electronic signatures. Click on the Sign option and decide how you’d like to add your signature to the document - by typing your name, sketching it, uploading its image, or using a QR code.
- Share and send for electronic signing. Conclude your editing using the Done button and send your version to other parties for their signatures via an email request, with a Fill Option Link, in an SMS, or through a fax message. If necessary, request immediate online notarization.
- Store the document in the desired format. Download your file, save it to cloud storage in its current format, or convert it as needed.

Benefits of Editing Shopping Centers Forms Online
Top Questions and Answers
Removing pages from a Word template involves identifying the content that keeps the page active. Check for any hidden characters or page breaks in the document. Once identified, select them and hit 'Delete'. Learning how to delete pages from Word shopping centers templates will enhance your document management skills, allowing for cleaner presentations.
Tips to Delete Pages From Word Shopping Centers Templates For Free
- Open the Word document containing the Shopping Centers Templates
- Go to the navigation pane on the left side of the screen
- Select the thumbnail view to see all the pages in the document
- Right-click on the page you want to delete
- Choose 'Delete' from the dropdown menu
- Confirm deletion when prompted
You may need to delete pages from Word Shopping Centers Templates when you want to remove outdated information, streamline the content, or make the document more concise and focused.
Related Searches
Click or tap anywhere in the page you want to delete, press Ctrl+G. · In the Enter page number box, type \page. · Press Enter on your keyboard, and then select ... I'll be happy to help you out. You can delete a page in word by following these steps. 1. Press ? + 8 to show paragraph marks. 2. Press Command + 8. This will show all the page breaks between individual pages within your document. · Select the page you want to delete. A shaded line ... To remove the blank page, you need to click it in the left panel and press the ?Delete? key until the page is deleted. delete blank page in word. Method 2. Delete Pages Individually ... Go to Pages and click the ellipses (three dots) next to any page and look for the Trash option that appears. This will send the page ... Pages templates are designed for either word processing or page layout. The way you add or delete pages, work with objects, and more depend on the type of ... Tap on the page you want to delete. · On the toolbar below the editor, tap on Delete page. To delete a section, click the trash can icon. After saving, sections can't be restored. Collection page sections can't be deleted. Click Save ... On a computer, open a site in classic Google Sites. · Click the page you want to delete. · At the top right, click More actions Settings and then Delete page. Find hundreds of Avery templates built directly into Microsoft Word. ... Here's how to be sure your product, page settings and printer settings can help you ...
Industry-leading security and compliance
-
In businnes since 1997Over 25 years providing professional legal documents.
-
Accredited businessGuarantees that a business meets BBB accreditation standards in the US and Canada.
-
Secured by BraintreeValidated Level 1 PCI DSS compliant payment gateway that accepts most major credit and debit card brands from across the globe.
-
VeriSign secured#1 Internet-trusted security seal. Ensures that a website is free of malware attacks.