Delete Pages From Word Options Templates For Free
How it works
-
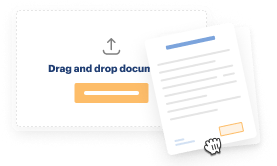
Import your Options Forms from your device or the cloud, or use other available upload options.
-
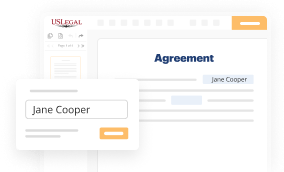
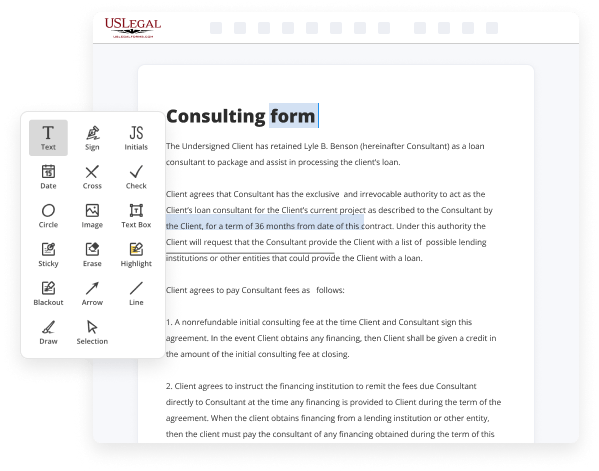
Make all necessary changes in your paperwork — add text, checks or cross marks, images, drawings, and more.
-
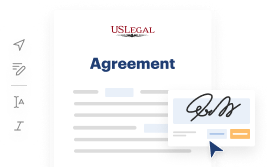
Sign your Options Forms with a legally-binding electronic signature within clicks.
-
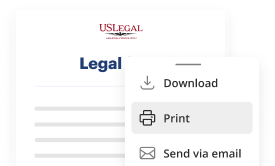
Download your completed work, export it to the cloud, print it out, or share it with others using any available methods.
How to Delete Pages From Word Options Templates For Free
Are you exhausted from incessant document printing, scanning, mailing, and wasting valuable time and resources on manual completion? Times have advanced, and the most efficient way to Delete Pages From Word Options Templates For Free and implement any necessary adjustments to your forms is by managing them online. Opt for our quick and dependable online editor to finalize, modify, and execute your legal documents with maximum efficiency.
With our service, you no longer have excuses to complete legal documents manually. Save time and effort executing them online at double the speed and efficiency. Give it a try now!
- Upload or import a file to the service. Drag and drop the template into the upload area, import it from the cloud, or utilize another option (extensive PDF library, emails, URLs, or direct form inquiries).
- Provide the necessary information. Fill in blank fields using the Text, Check, and Cross tools from our top panel. Navigate through our editor to ensure you’ve completed everything. Highlight the most important details and remove or blackout fields that are not applicable.
- Edit and rearrange the form. Use our top and side toolbars to modify your content, add extra fillable fields for various data types, reorder pages, insert new ones, or eliminate unnecessary ones.
- Sign and request signatures. Whichever option you choose, your eSignature will be legally binding and acceptable in court. Send your form to others for approval using email or signature links. Notarize the document directly in our editor if it requires witnessing.
- Share and save the copy. Download or export your finalized documents to the cloud in the needed file format, print it out if you require a hard copy, and select the most suitable file-sharing method (email, fax, SMS, or regular mail through the USPS).

Benefits of Editing Options Forms Online
Top Questions and Answers
To delete an extra page in your Word resume template, first navigate to the last page of your resume. Check for any non-visible characters or items causing the page to extend. After removing these elements, simply press 'Delete'. This process makes your resume concise and enables you to delete pages from Word options templates seamlessly.
Tips to Delete Pages From Word Options Templates For Free
- Open the Word Options menu by clicking on File and then selecting Options.
- Go to the Add-Ins category and click on Manage: Word Add-Ins.
- Select the template that you want to delete from the list of active templates.
- Click Remove and then OK to confirm the deletion.
- Restart Microsoft Word to apply the changes.
The editing feature for deleting pages from Word Options Templates may be needed when you no longer require a specific template or want to clean up your list of active templates.
Related Searches
Delete a page in Word Click or tap anywhere in the page you want to delete, press Ctrl+G. In the Enter page number box, type \page. Press Enter on your keyboard, and then select Close. Verify that a page of content is selected, and then press Delete on your keyboard. Open the form template that contains the template part that you want to delete. · On the form template, select the template part. Note: Template parts always ... From where select ?Pages ? and go to the page which you want to remove or Delete and jus Press Delete from K-Board. Click the blank page (Figure B), and press Delete. You'll know the page is selected by the thick blue border. Figure B. Click the View tab in the Ribbon. · Select or check Navigation Pane in the Show group. · Click Pages to display all the pages in the document. One of the easiest options is to manually highlight the whole page and either press the Delete or Backspace key. These buttons remove the ... Select "Remove Page" from the drop down menu. ... To delete the page, select Insert from the menu bar, and select Remove Page from the drop down menu. To delete the page, select Insert from the menu bar, and select Remove Page from the drop down menu. Advertisement ... I have found the page showing Personal Templates, and can see the one I want to delete, but the only options given to me at the bottom of ... Step 1. Open "Templates and Add-Ins" in Word. The checked items in box under Global Templates and Add-Ins are currently loaded in Word. · Step 2. Uncheck the box ...
Industry-leading security and compliance
-
In businnes since 1997Over 25 years providing professional legal documents.
-
Accredited businessGuarantees that a business meets BBB accreditation standards in the US and Canada.
-
Secured by BraintreeValidated Level 1 PCI DSS compliant payment gateway that accepts most major credit and debit card brands from across the globe.
-
VeriSign secured#1 Internet-trusted security seal. Ensures that a website is free of malware attacks.