Delete Pages From Word Employment Templates For Free
How it works
-
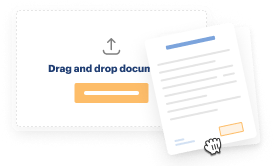
Import your Employment Forms from your device or the cloud, or use other available upload options.
-
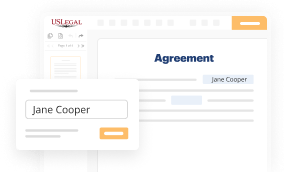
Make all necessary changes in your paperwork — add text, checks or cross marks, images, drawings, and more.
-
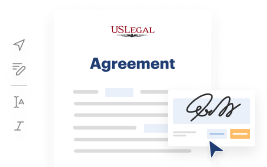
Sign your Employment Forms with a legally-binding electronic signature within clicks.
-
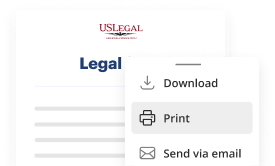
Download your completed work, export it to the cloud, print it out, or share it with others using any available methods.
How to Delete Pages From Word Employment Templates For Free
Are you fatigued by continual document printing, scanning, postal dispatch, and squandering valuable time and resources with manual completion? The era has evolved, and the simplest method to Eliminate Pages From Word Employment Templates At No Cost and make any other necessary modifications to your forms is by managing them online. Select our swift and secure online editor to fill out, adjust, and execute your legal documents with optimal efficiency.
With our service, you no longer have any justifications to complete legal documents manually. Conserve time and effort by executing them online twice as quickly and more accurately. Give it a go now!
- Upload or import a file to the platform. Drag and drop the template into the upload section, import it from the cloud, or utilize an alternative option (extensive PDF directory, emails, URLs, or direct form requests).
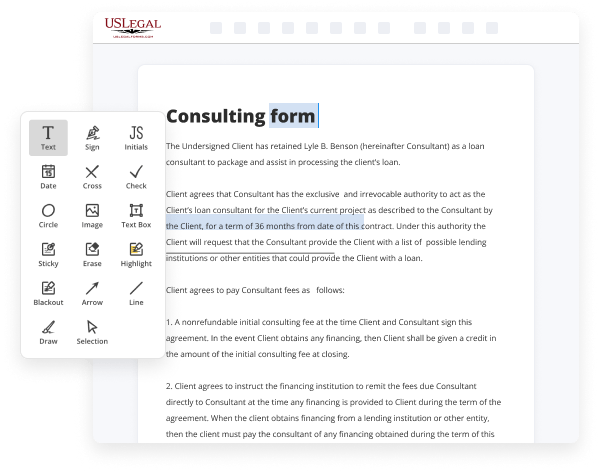
- Enter the information you require. Complete vacant fields using the Text, Check, and Cross tools from our top menu. Utilize our editor’s navigation to ensure you’ve filled in all information. Emphasize the most vital details with the Highlight feature and delete or obscure irrelevant areas.
- Modify and rearrange the template. Use our top and side toolbars to update your content, add additional fillable fields for different data types, reorder pages, incorporate new ones, or eliminate unnecessary ones.
- Sign and gather signatures. Regardless of the method you choose, your eSignature will be legally binding and acceptable in court. Dispatch your form to others for signing via email or signing links. Notarize the document directly in our editor if it requires witnessing.
- Share and store the copy. Download or export your completed documents to the cloud in the format you prefer, print it out if you desire a physical copy, and choose the most suitable file-sharing method (email, fax, SMS, or delivered via traditional mail using the USPS).

Benefits of Editing Employment Forms Online
Top Questions and Answers
To remove extra pages from your resume, review your document for any unnecessary breaks or blank spaces. Highlight those areas and delete them. This process ensures you keep your resume concise and impactful, helping you move toward deleting pages from Word employment templates efficiently.
Tips to Delete Pages From Word Employment Templates For Free
- Open the Word Employment Template document
- Go to the page you want to delete
- Click on the page to place your cursor
- Press the 'Delete' key on your keyboard
- Repeat steps for each page you want to delete
Sometimes you may need to delete pages from a Word Employment Template document when you want to customize it for a specific job application or remove outdated information. By following the steps above, you can easily remove unwanted pages and tailor the template to your needs.
Related Searches
While you're in the Pages section in the Navigation pane, you'll see thumbnails of the pages in your document. Simply click the thumbnail of the page you want to be removed and press the Delete or the Backspace key on your keyboard. Open the template as a document (via File | Open) and then select and delete the undesired content. Save and close the template. The simplest way is to click into the empty page and BACKSPACE, that will delete the ?New Page" marker. Click the View tab, and then, click Navigation pane in the Show group. Navigation pane in the Show group. In the Navigation pane, click Pages. How to delete a blank page in Word · 1. Manually select the page and delete · 2. Use the Select Page option · 3. Check paragraph marks. Here is the most basic approach: Go to your unwanted blank page in your Word document, click as close to the bottom of the page as you can, and ... Select "Remove Page" from the drop down menu. ... To delete the page, select Insert from the menu bar, and select Remove Page from the drop down menu. Click the Page Setup icon in the lower-right corner of the tab. It's the small icon under Hyphenation. This opens the Page Setup dialog box. How to delete a page with content in Word · Step 1: Select the page you want to delete · Step 2: Select the whole page · Step 3: Delete the page. Open your Word Document - Go TO View TAB - Click Navigation Pane - Select Blank Page - Then click DELETE or Backspace from Keyboard.See This Tutorial.
Industry-leading security and compliance
-
In businnes since 1997Over 25 years providing professional legal documents.
-
Accredited businessGuarantees that a business meets BBB accreditation standards in the US and Canada.
-
Secured by BraintreeValidated Level 1 PCI DSS compliant payment gateway that accepts most major credit and debit card brands from across the globe.
-
VeriSign secured#1 Internet-trusted security seal. Ensures that a website is free of malware attacks.