Delete Pages From Electronic Options Templates For Free
How it works
-
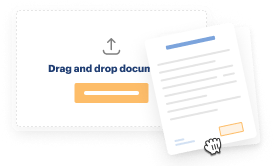
Import your Options Forms from your device or the cloud, or use other available upload options.
-
Make all necessary changes in your paperwork — add text, checks or cross marks, images, drawings, and more.
-
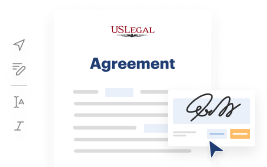
Sign your Options Forms with a legally-binding electronic signature within clicks.
-
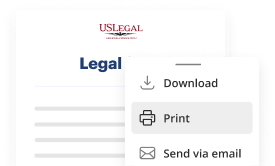
Download your completed work, export it to the cloud, print it out, or share it with others using any available methods.
How to Delete Pages From Electronic Options Templates For Free
Are you fatigued by perpetual document printing, scanning, mailing, and wasting valuable time and resources on manual completion? The times have advanced, and the optimal approach to Eliminate Pages From Electronic Options Templates For Free and make any essential modifications to your forms is by managing them online. Choose our rapid and secure online editor to complete, alter, and execute your legal documents with utmost efficiency.
Modify and rearrange the template. Employ our upper and side toolbars to adjust your content, add extra fillable fields for varied data types, reorder sheets, append new ones, or eliminate unnecessary ones. Sign and request signatures. Regardless of which method you opt for, your electronic signature will be legally binding and court-recognized. Dispatch your form to others for endorsement through email or signing links. Notarize the documents directly in our editor if it requires witnessing. Share and save the copy. Download or export your finalized documentation to the cloud in the desired format, print it out if you need a hard copy, and choose the most suitable file-sharing method (email, fax, SMS, or sent by postal service using the USPS). With our service, you no longer have excuses to prepare legal documents manually. Save time and effort executing them online twice as quickly and more accurately. Give it a try now!
- Upload or import a file to the service.
- Drag and drop the template into the upload area, retrieve it from the cloud, or utilize another option (extensive PDF library, emails, URLs, or direct form requests).
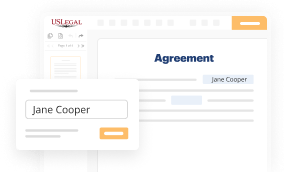
- Provide the essential information.
- Fill in the vacant fields using the Text, Check, and Cross tools from our top pane. Utilize our editor's navigation to ensure you've completed everything.
- Emphasize the most crucial details with the Highlight option and remove or obscure areas with no value.

Benefits of Editing Options Forms Online
Top Questions and Answers
To delete a page from a brochure template in Word, open the brochure file and navigate to the page you want to remove. Ensure that no content is preventing the deletion, such as text boxes or images. Once highlighted, you can either delete the elements directly or remove the entire page by adjusting the document layout. This keeps your brochure concise and professional.
Tips to Delete Pages From Electronic Options Templates For Free
- Locate the page you want to delete in the electronic options template.
- Click on the page to select it.
- Look for the delete option, usually represented by a trash can icon.
- Confirm deletion when prompted.
- Ensure any content on the page is no longer needed before deleting.
The editing feature for deleting pages from electronic options templates may be needed when you want to streamline the template and remove unnecessary or outdated information. By removing pages that are no longer relevant, you can ensure the template remains organized and efficient for future use.
Related Searches
You can't delete the built-in templates that came with Pages, but you can delete templates from the My Templates section of Template chooser. To delete a Personal Template from "Pages" open finder; open "Go"; hold down left "Alt"; open "Library"; open "Application Support"; ... Enter the range of page numbers you want to remove in the Delete and through fields. Click OK. The page(s) you specified are deleted. In the templates section, locate the custom page you want to delete. Click the options menu ( ), then select Delete. You can add or delete pages, and Master Pages, from Publisher publications. ... the Insert Page dialog box. Select the options you want, and then click OK. Remove or edit the built-in templates for new pages or news post on a communications site. Discussion Options. Tick the box of the page to delete. · Click Actions and then Delete templates. · Confirm this in the popover that appears. · Your page will be deleted. Tick the box of the page to delete. · Click Actions and then Delete templates. · Confirm this in the popover that appears. · Your page will be deleted. On the toolbar below the editor, tap on Delete page. To switch between thumbnail and grid views, tap from the menu bar above the editor and select your ... Click directly on a template that you want to delete. It will turn red indicating that it is selected. Click the Delete button at the top of Print Preview, or ...
Industry-leading security and compliance
-
In businnes since 1997Over 25 years providing professional legal documents.
-
Accredited businessGuarantees that a business meets BBB accreditation standards in the US and Canada.
-
Secured by BraintreeValidated Level 1 PCI DSS compliant payment gateway that accepts most major credit and debit card brands from across the globe.
-
VeriSign secured#1 Internet-trusted security seal. Ensures that a website is free of malware attacks.