Add Textbox To Word Name Change Templates For Free
How it works
-

Import your Name Change Forms from your device or the cloud, or use other available upload options.
-

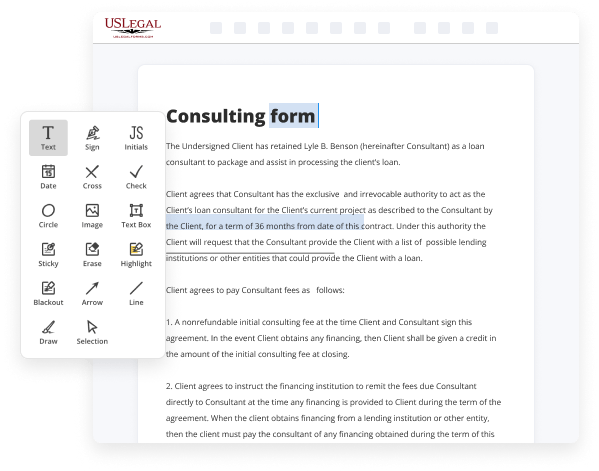
Make all necessary changes in your paperwork — add text, checks or cross marks, images, drawings, and more.
-

Sign your Name Change Forms with a legally-binding electronic signature within clicks.
-
Download your completed work, export it to the cloud, print it out, or share it with others using any available methods.
How to Add Textbox To Word Name Change Templates For Free
Legal paperwork demands utmost accuracy and swift implementation. Although producing and completing forms typically requires significant time, online PDF editors demonstrate their usefulness and effectiveness. Our platform is available if you’re looking for a trustworthy and user-friendly tool to add text fields to Name Change templates at no cost, quickly and securely. Once you utilize it, you’ll be astonished at how effortless handling official documents can be.
Hit Done when you are prepared and select where to store your form - download it to your device or upload it to the cloud in any format you require. Share a copy with others or send it to them for signing via email, a signing link, SMS, or fax. Request online notarization and have your form promptly certified. Imagine doing all of this manually on paper when even a lone mistake necessitates reprinting and re-entering all the information from scratch! With online services like ours, tasks become far more manageable. Try it out today!
- Upload your document using one of the accessible methods - from your computer, cloud storage, or PDF archive.
- You can also retrieve it from an email, direct URL, or through a request from someone else.
- Utilize the upper menu to complete your file: begin entering text in the designated areas and select relevant options by clicking on the box fields.
- Make other essential alterations: add images, lines, or icons, emphasize or erase certain information, etc.
- Employ our additional tools for page management - insert new pages, rearrange their sequence, delete unnecessary ones, add page numbers if absent, etc.
- Include extra fields in your document to request various types of information and apply watermarks to safeguard the material from unauthorized duplication.
- Check if everything is accurate and sign your document - create a legally-recognized eSignature in your chosen method and add the current date beside it.

Benefits of Editing Name Change Forms Online
Top Questions and Answers
To create a fillable text box in Word, first enable the 'Developer' tab by accessing 'Options.' Once visible, under the 'Developer' tab, click 'Legacy Tools,' then select 'Text Form Field.' This method is highly beneficial when you want to Add Textbox To Word Name Change Templates, ensuring users can easily input their information.
Tips to Add Textbox To Word Name Change Templates For Free
- Open Microsoft Word and go to the Insert tab.
- Click on the Text Box option in the Text section.
- Choose the type of Text Box that you want to insert (Simple Text Box or Drawn Text Box).
- Click and drag to draw the Text Box in the desired location within the document.
- You can customize the Text Box by changing the font, size, color, and alignment of the text inside.
- To move or resize the Text Box, click on the edges and drag them to the desired size and location.
- Once you are satisfied with the Text Box, you can type in the text that you want to include in the Name Change Template.
Adding a Text Box to Word Name Change Templates can be useful when you want to highlight important information, create a specific section for the recipient to fill out, or add a creative element to the document. It provides a visually appealing way to organize and present the content within the template.
Related Searches
Add a text box Go to Insert > Text Box, and then select one of the pre-formatted text boxes from the list, select More Text Boxes from Office.com, or select Draw Text Box. If you select Draw Text Box, click in the document, and then drag to draw the text box the size that you want. More items... After you insert a text box on a form template, you can customize it by accessing and changing its properties and settings in the Text Box Properties dialog ... To insert a text box, click on the Insert tab at the top of the page and select Text Box. Word will give you a number of pre-formatted options along with a ... Click a Content Control buttons to insert the selected type of control. The content control is inserted. Select a form field and click the Properties button on ... The best way to make sure your images to stay in place is to change the "wrapping". Best Image Layout Options: Select the image after adding it ... Since templates come with text boxes ready for you to edit, adding text is simple. Just click on a text box and start typing. If you need to add more text ... You can add a collapsible text box to save space on your Google Site. ... You can change how part of a page looks by using a layout template. To the left of the screen click on Text then Add text box - type out the text and the information will populate on every label. How to Edit One Label at a Time. Please note that you cannot insert Word graphics/icons into your custom template. These icons (accessible from the Insert tab) will prevent your custom template ... Add an item to the template, such as a text box, by clicking the Insert tab. Click the ?Text Box? button on the ribbon, choose ?Simple Text Box,? drag the ...
Industry-leading security and compliance
-
In businnes since 1997Over 25 years providing professional legal documents.
-
Accredited businessGuarantees that a business meets BBB accreditation standards in the US and Canada.
-
Secured by BraintreeValidated Level 1 PCI DSS compliant payment gateway that accepts most major credit and debit card brands from across the globe.
-
VeriSign secured#1 Internet-trusted security seal. Ensures that a website is free of malware attacks.