Add Text To Electronic Options Templates For Free
How it works
-

Import your Options Forms from your device or the cloud, or use other available upload options.
-

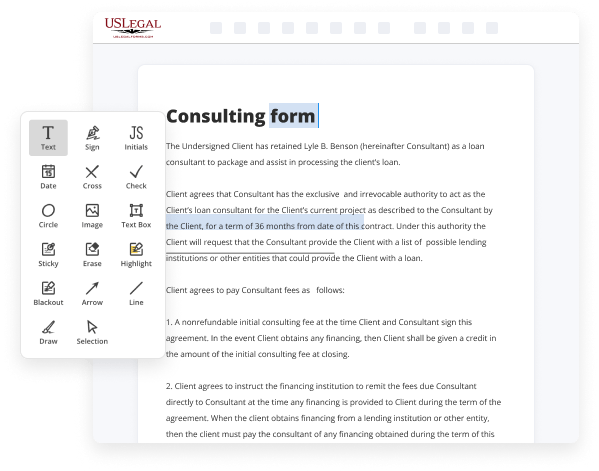
Make all necessary changes in your paperwork — add text, checks or cross marks, images, drawings, and more.
-

Sign your Options Forms with a legally-binding electronic signature within clicks.
-
Download your completed work, export it to the cloud, print it out, or share it with others using any available methods.
How to Add Text To Electronic Options Templates For Free
Are you fed up with perpetual document printing, scanning, postal shipping, and squandering valuable time and resources with manual completion? The era has progressed, and the most effective method to Add Text To Digital Options Templates For Free and implement any other crucial modifications to your forms is by managing them online. Utilize our swift and trustworthy online editor to finish, alter, and execute your legal documents with utmost efficiency.
Sign and request signatures. Regardless of the method you select, your electronic signature will be legally binding and admissible in court. Dispatch your form to others for approval via email or signing links. Notarize the document directly in our editor if it requires witnessing. Share and save the copy. Download or export your completed paperwork to the cloud in your desired file format, print it if you prefer a hard copy, and choose the most suitable file-sharing method (email, fax, SMS, or sent by traditional mail using USPS). With our service, you have no more excuses to finalize legal documents manually. Save time and effort completing them online in half the time and more effectively. Try it out now!
- Upload or import a document to the service.
- Drag and drop the template into the upload area, import it from the cloud, or select an alternative option (extensive PDF library, emails, URLs, or direct form requests).
- Input the necessary information.
- Fill in vacant fields using the Text, Check, and Cross tools from our top panel. Navigate through our editor to ensure you’ve filled in all sections. Highlight significant details with the Highlight option and remove or obscure fields with no value.
- Modify and rearrange the template.
- Utilize our upper and side toolbars to revise your content, add extra fillable fields for diverse data types, reorder pages, add new ones, or eliminate redundant ones.

Benefits of Editing Options Forms Online
Top Questions and Answers
To type on a template, first open the template in your editing program. Select the section where you want to add text and click to activate the cursor. Begin typing directly in that area, making it easy to add text to electronic options templates and customize your work.
Tips to Add Text To Electronic Options Templates For Free
- 1. Use a text editing software such as Microsoft Word or Google Docs to create and format the text you want to add to the electronic options template.
- 2. Copy and paste the text into the template, making sure to adjust the size, font, and color as needed.
- 3. Double-check the text for any errors or typos before finalizing the template.
- 4. Save the edited template in a compatible file format for easy sharing and printing purposes.
The editing feature for Add Text To Electronic Options Templates may be needed when you want to personalize the template with specific information or instructions. This can be helpful when creating custom forms, invitations, or informational documents.
Related Searches
Click to EDIT on the template --> click on Page Layout (as shown in image) --> Then Instruction Text. Victor. From the Text tab on the editor panel, add text or use the search bar to look for font styles. You can also choose from our font combination templates. Add content controls to a template · Click File > Options > Customize Ribbon. · Under Customize the Ribbon, select Main Tabs. · In the list, select the Developer ... Save in Click the name of the template in the drop-down list. A template must be open to be displayed in the drop-down list of template names. Options Choose ... The tutorial shows how to create reusable pieces of content for Outlook emails by using Quick Parts, AutoText and Shared Templates. To create a new template, simply select the desired content (text, images, links, etc.) in a message and click New Template. To insert a ... 6 days ago ? In the left panel, select Text > Add your text to add new text to the template. Type your text in the text box and format it using the ... In the Filename Template Editor dialog box or the Text Template Editor dialog box, choose an option and then click Insert for as many ... Go to Templates in the Settings section of your Text Request menu. 2. Click + NEW TEMPLATE. 3. Type the name you want to use to identify the Template. Use a text block to add text to your emails. Choose a text style (Normal or Heading 1 - 4) to apply the style settings from your main ...
Industry-leading security and compliance
-
In businnes since 1997Over 25 years providing professional legal documents.
-
Accredited businessGuarantees that a business meets BBB accreditation standards in the US and Canada.
-
Secured by BraintreeValidated Level 1 PCI DSS compliant payment gateway that accepts most major credit and debit card brands from across the globe.
-
VeriSign secured#1 Internet-trusted security seal. Ensures that a website is free of malware attacks.