Add Required Fields To Word Name Change Templates For Free
How it works
-

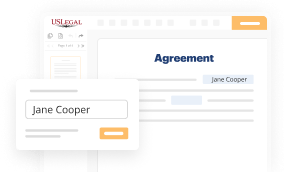
Import your Name Change Forms from your device or the cloud, or use other available upload options.
-

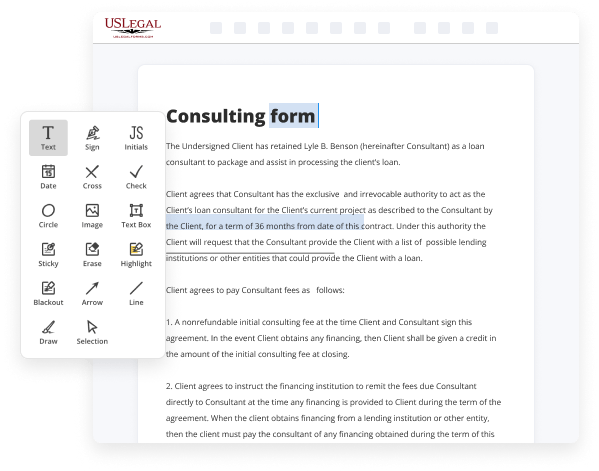
Make all necessary changes in your paperwork — add text, checks or cross marks, images, drawings, and more.
-

Sign your Name Change Forms with a legally-binding electronic signature within clicks.
-

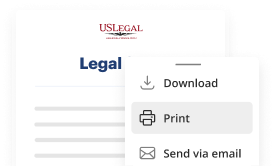
Download your completed work, export it to the cloud, print it out, or share it with others using any available methods.
How to Add Required Fields To Word Name Change Templates For Free
Are you exhausted from constant document printing, digitizing, postal shipping, and wasting valuable time and resources with manual entry? The era has progressed, and the most straightforward method to Insert Necessary Fields Into Word Name Alteration Templates For Free and implement any other vital revisions to your forms is by managing them digitally. Select our swift and trustworthy online editor to finalize, modify, and execute your legal documents with utmost efficiency.
With our service, you no longer have any excuses for completing legal documents manually. Save time and energy executing them online twice as fast and more efficiently. Give it a try today!
- Upload or integrate a file to the editor. Drag and drop the template into the upload section, import it from the cloud, or utilize an alternative option (extensive PDF library, emails, URLs, or direct form requests).
- Input the information you require. Fill in blank spaces using the Text, Check, and Cross tools from our upper pane. Utilize our editor’s navigation to ensure you’ve completed everything.
- Modify and rearrange the template. Utilize our upper and side toolbars to refresh your content, add extra fillable fields for various data types, reorder pages, include new ones, or eliminate unnecessary ones.
- Sign and request signatures. Regardless of the method you opt for, your eSignature will be legally binding and acceptable in court. Send your form to others for consent using email or signing links. Notarize the documents right in our editor if it requires witnessing.
- Share and save the copy. Download or export your finalized documents to the cloud in your required format, print it if you need a hard copy, and select the most suitable file-sharing method (email, fax, SMS, or delivered by regular mail using the USPS).


Benefits of Editing Name Change Forms Online
Top Questions and Answers
To restrict editing to specific fields in Word, go to the Developer tab and select 'Restrict Editing.' You can then allow editing for only the fields you've designated, limiting changes to essential areas. This feature is particularly useful when you add required fields to Word name change templates, ensuring that your core information remains intact.
Tips to Add Required Fields To Word Name Change Templates For Free
- Identify the necessary fields for the name change process
- Use the 'Developer' tab in Word to insert form fields like text boxes and checkboxes
- Label the required fields clearly for the user to fill in
- Set the properties of the form fields to make them mandatory
- Test the template to ensure all required fields are working correctly
Adding required fields to Word Name Change Templates is essential to ensure that users provide all necessary information during the name change process. This editing feature may be needed in situations where accuracy and completeness of information are crucial, such as legal document preparation or official paperwork submissions.
Related Searches
Go to File > New. In Search online templates, type Forms or the type of form you want and press ENTER. Choose a form template, and then select Create or ... Right-click on the Form Field and select Properties. Then provide a name for the field in the Bookmark section. MS Word 2007. Click on the Menu ... How to Build Forms in Word. ... Protection: Users can complete the form fields without being able to change the form's text and/or design. In the Word menu, click on the Insert menu, click the Quick Parts dropdown, and select Fields. Click on DocProperty under Field names in the pop ... Place the mouse where you want to put the fill-in form field. · Click the "Developer" tab, then select "Design Mode." · Then, click the "Content ... 1. Right-click on any of the merge fields and select Edit Field, as shown below. · 2. Click MergeField from the Field Names list, as shown below, then go to the ... From the Word ribbon menu select Insert - Quick Parts - Field; In the list of Field names, select the field "Date". Select the format required. Click OK to add ... How to create Form questions and add the fields into a document template ; Click Add Form. Click Add Form ; Enter the form details. Enter the form details ; Create ... Results 1 - 25 of 25 ? Right-click the field you want to edit. · Select Edit Field. · In the Field name text box, update the field name. · Click OK. Change the properties on each of the available tabs, as needed. The property is changed as soon as you select another property or press Enter.
Industry-leading security and compliance
-
In businnes since 1997Over 25 years providing professional legal documents.
-
Accredited businessGuarantees that a business meets BBB accreditation standards in the US and Canada.
-
Secured by BraintreeValidated Level 1 PCI DSS compliant payment gateway that accepts most major credit and debit card brands from across the globe.
-
VeriSign secured#1 Internet-trusted security seal. Ensures that a website is free of malware attacks.