Add Date To Word Services Templates For Free
How it works
-
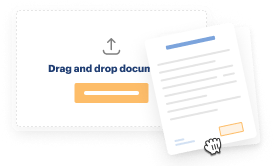
Import your Services Forms from your device or the cloud, or use other available upload options.
-
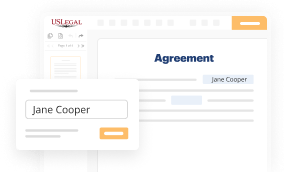
Make all necessary changes in your paperwork — add text, checks or cross marks, images, drawings, and more.
-

Sign your Services Forms with a legally-binding electronic signature within clicks.
-
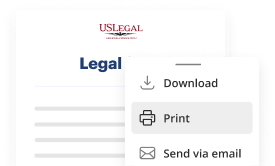
Download your completed work, export it to the cloud, print it out, or share it with others using any available methods.
How to Add Date To Word Services Templates For Free
Are you fatigued by ceaseless document printing, scanning, mailing, and squandering valuable time and resources on manual completion? The era has evolved, and the simplest way to Add Date To Word Services Templates For Free and make any necessary modifications to your forms is by managing them online. Select our fast and dependable online editor to finalize, adjust, and carry out your legal documents with maximum efficiency.
Revise and rearrange the form. Utilize our top and side toolbars to refresh your content, insert additional fillable fields for various types of information, reorganize pages, add new ones, or remove unnecessary ones. Sign and gather signatures. Regardless of the method you select, your eSignature will be legally binding and admissible in court. Send your document to others for consent via email or signing links. Notarize the document directly within our editor if it requires witnessing. Share and save the copy. Download or export your finished documents to the cloud in your preferred file format, print it out if you need a hard copy, and pick the most appropriate file-sharing method (email, fax, SMS, or sent by traditional mail using the USPS). With our service, you no longer have any excuses for manual legal document completion. Save time and effort by executing them online at twice the speed and with greater accuracy. Give it a try now!
- Upload or import a document to the editor.
- Drag and drop the template into the upload area, import it from the cloud, or choose an alternative method (comprehensive PDF library, emails, URLs, or direct form requests).
- Enter the information you require.
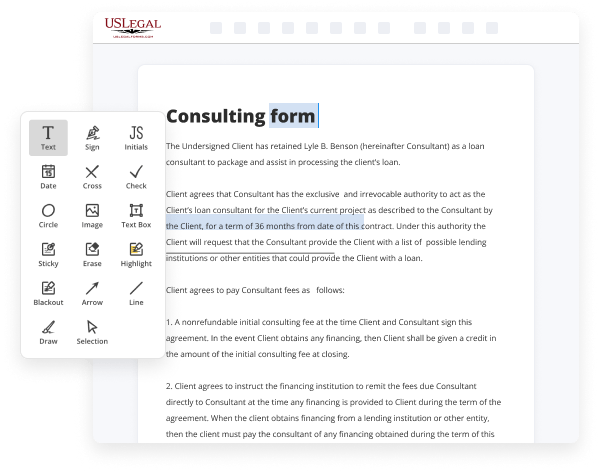
- Complete blank fields using the Text, Check, and Cross tools from our upper panel. Utilize our editor’s controls to ensure you’ve filled out everything.
- Highlight the most important details with the Highlight feature and delete or obscure fields that hold no value.

Benefits of Editing Services Forms Online
Top Questions and Answers
To insert a fillable date field in Word, make sure the Developer tab is activated. Next, choose 'Date Picker Content Control' and place it in your document where needed. This insertion is beneficial for ensuring users can provide accurate dates in your Word services templates.
Tips to Add Date To Word Services Templates For Free
- 1. Open the Word document template you want to add a date to.
- 2. Click on the location within the template where you want the date to appear.
- 3. Go to the 'Insert' tab in the toolbar at the top of the document.
- 4. Click on 'Date & Time' in the Text group.
- 5. Select the date format you prefer and check the box next to 'Update automatically if it is not already checked.
- 6. Click 'OK' to insert the date into the template.
- 7. Save the template to preserve the changes.
Adding a date to Word Services Templates can provide a professional and organized touch to your documents. This editing feature may be needed when creating invoices, reports, or any document that requires a current date for reference.
Related Searches
Insert a date in a template Choose Insert ? Field. Choose the Category: Date & Time. Choose the Field: CreateDate. See the notes below about other Date fields. In the Field Properties section, select a date format that you like. Click OK. I have created a Word Document template for an attendance note. The template includes the date, autmatically updated. Using the Date field will add 'today's date' when the document is created from the template/stationery, but it will reset the date to the current date whenever ... On a PC, navigate to where you want to enter the date field and then press on Shift + Alt + D together. On a Mac, press on Shift + Ctrl + D. Important: The date ... In this post, we're giving you a tip on how to create a Word document with self updating date and time stamps so you have one less thing to worry about. Understanding how to insert the current date into a Word file can help you evaluate a document based on the day of its creation. Go to the Insert tab in Word · Quick parts · Field · Select Date from the list on the left. · Enter your custom date format in the text box on the ... 6 days ago ? To access them using the web version of Word, click See more templates in the Create new section. If you're using the desktop app, click More ... Word add in central document template management ... in case the data contained in the directory service is not up-to-date/correct/complete. 1. Open Microsoft Word, then open a document or create a new one. · 2. Click "Date & Time" on the Insert menu. · 3. Click the check box next to "Update ...
Industry-leading security and compliance
-
In businnes since 1997Over 25 years providing professional legal documents.
-
Accredited businessGuarantees that a business meets BBB accreditation standards in the US and Canada.
-
Secured by BraintreeValidated Level 1 PCI DSS compliant payment gateway that accepts most major credit and debit card brands from across the globe.
-
VeriSign secured#1 Internet-trusted security seal. Ensures that a website is free of malware attacks.