Add Date To Word Mediation Templates For Free
How it works
-
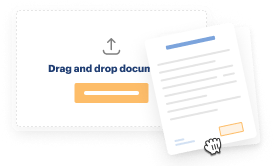
Import your Mediation Forms from your device or the cloud, or use other available upload options.
-
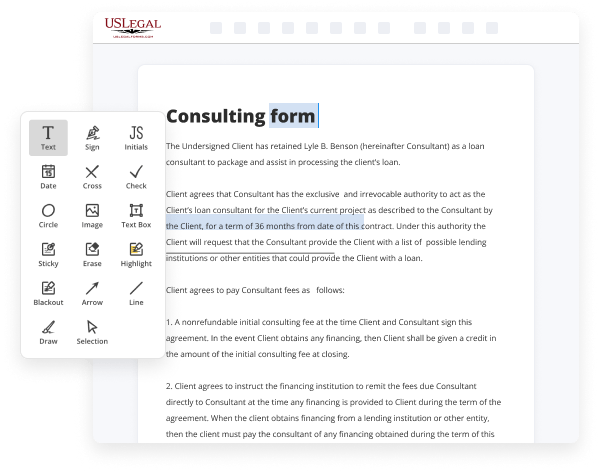
Make all necessary changes in your paperwork — add text, checks or cross marks, images, drawings, and more.
-

Sign your Mediation Forms with a legally-binding electronic signature within clicks.
-
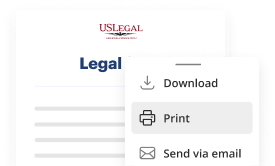
Download your completed work, export it to the cloud, print it out, or share it with others using any available methods.
How to Add Date To Word Mediation Templates For Free
Are you exhausted from perpetual document printing, scanning, mailing, and wasting valuable time and resources on manual completion? The era has advanced, and the easiest way to Add Date To Word Mediation Templates For Free and make any necessary modifications to your forms is by managing them online. Utilize our rapid and reliable online editor to complete, modify, and execute your legal paperwork with maximum efficiency.
With our service, there are no longer any excuses to create legal documents manually. Save time and effort executing them online in half the time and with greater effectiveness. Give it a try today!
- Upload or import a document to the editor. Drag and drop the template to the upload area, import it from the cloud, or use an alternative method (extensive PDF library, emails, URLs, or direct form requests).
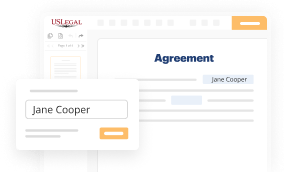
- Provide the necessary information. Complete empty fields using the Text, Check, and Cross tools from our upper panel. Use our editor’s navigation to ensure every section is completed. Highlight key information with the Highlight option and erase or black out irrelevant fields.
- Modify and reorganize the template. Utilize our top and side toolbars to change your content, add extra fillable fields for different data types, rearrange sheets, insert new ones, or eliminate those that are not needed.
- Sign and obtain signatures. Regardless of the method you choose, your electronic signature will be legally binding and acceptable in court. Send your form to others for signing via email or signing links. Notarize the documents directly within our editor if witnessing is required.
- Distribute and secure a copy. Download or export your completed documents to the cloud in your preferred format, print it out if you want a physical copy, and select the most suitable file-sharing option (email, fax, SMS, or postal mail through USPS).

Benefits of Editing Mediation Forms Online
Top Questions and Answers
To insert consecutive dates in Word, use the 'Insert' tab to place your initial date, then utilize the filling function to create a sequence. This method ensures that all dates flow logically within your document. By applying this strategy to your Add Date To Word Mediation Templates, you contribute to a more organized structure.
Tips to Add Date To Word Mediation Templates For Free
- Open the Word Mediation Template you wish to edit.
- Place the cursor at the location where you want to add the date.
- Click on the 'Insert' tab in the top menu.
- Select 'Date & Time' from the options provided.
- Choose the date format you prefer and click 'OK'.
- The date will now be inserted into your Word Mediation Template.
Adding the date to Word Mediation Templates is a simple process. By following the steps outlined above, you can easily include the current date in your template. This editing feature may be needed when you want to ensure that the date of the mediation session is clearly indicated in the document.
Related Searches
Here are the steps to insert a specific type of date field into your Word document: Place your cursor in the location where you want to insert the date. Select the "Insert" tab from the top banner. Navigate to the "Text" group. Click "Quick Parts." Select "Field" from the menu that appears. More items... ? Insert a CreateDate field in the template. You can go through Insert > Quick Parts > Field, but it's quicker just to press Ctrl+F9 to make a ... On a PC, navigate to where you want to enter the date field and then press on Shift + Alt + D together. On a Mac, press on Shift + Ctrl + D. Important: The date ... Using the Date field will add 'today's date' when the document is created from the template/stationery, but it will reset the date to the current date whenever ... Add finalized clauses to templates or contracts - Once the clauses are finalized, they are active and can be inserted into main document ... If you want to put a date in a template that updates to the current date when a document is created based on the template, or want to change the format or ... To insert a field · Under Categories select Document Information · Under Field Names select File Name · If you want to add the path, click the Add ... To add a date, click ?IAB? at the top left of your document. ? Now, left click on the location where you need to drop the textbox and type the date in. Finally, ... If you want to put a date in a template that updates to the current date when a document is created based on the template, or want to change the format or ... This can be done by saving a Word document as a PDF, or by adding text directly to a PDF agreement template. ? To sign a PDF document, start by selecting ?Fill ...
Industry-leading security and compliance
-
In businnes since 1997Over 25 years providing professional legal documents.
-
Accredited businessGuarantees that a business meets BBB accreditation standards in the US and Canada.
-
Secured by BraintreeValidated Level 1 PCI DSS compliant payment gateway that accepts most major credit and debit card brands from across the globe.
-
VeriSign secured#1 Internet-trusted security seal. Ensures that a website is free of malware attacks.