Add Date To Word Employment Templates For Free
How it works
-
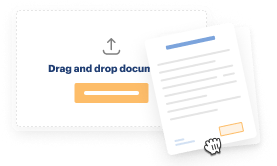
Import your Employment Forms from your device or the cloud, or use other available upload options.
-
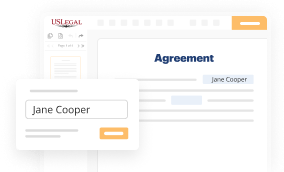
Make all necessary changes in your paperwork — add text, checks or cross marks, images, drawings, and more.
-

Sign your Employment Forms with a legally-binding electronic signature within clicks.
-
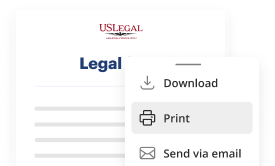
Download your completed work, export it to the cloud, print it out, or share it with others using any available methods.
How to Add Date To Word Employment Templates For Free
Are you exhausted from incessant document printing, scanning, postal mailing, and squandering valuable time and resources with manual entries? The period has progressed, and the simplest way to Insert Date Into Word Employment Templates For Free and make any necessary modifications to your forms is by managing them online. Opt for our swift and secure online editor to complete, adjust, and process your legal documents with utmost efficiency.
Alter and rearrange the document. Utilize our top and side toolbars to modify your content, add extra fillable fields for various data types, re-sequence sheets, insert new ones, or eliminate redundant ones. Sign and gather signatures. Regardless of which method you choose, your digital signature will be legally binding and court-acceptable. Dispatch your form to others for approval via email or signing links. Notarize the document directly in our editor if it requires witnessing. Share and save the copy. Download or export your completed documents to the cloud in your desired file format, print it out if you want a physical copy, and select the most suitable file-sharing method (email, fax, SMS, or delivered by traditional mail through USPS). With our service, you no longer have any excuses to fill out legal documents manually. Save time and energy completing them online twice as fast and more effectively. Try it today!
- Upload or import a document to the editor.
- Drag and drop the template into the upload area, import it from cloud storage, or utilize another method (extensive PDF repository, emails, URLs, or direct form requests).
- Provide the required information.
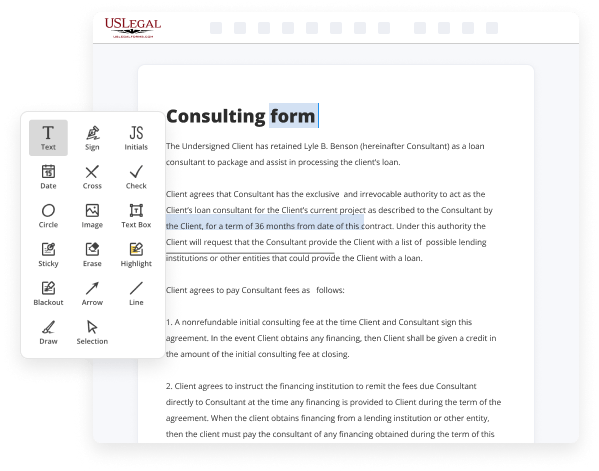
- Utilize the Text, Check, and Cross tools from our top panel to fill in empty sections. Navigate through our editor to ensure all fields are completed.
- Enhance key points with the Highlight feature and remove or obscure irrelevant areas.
Benefits of Editing Employment Forms Online
Top Questions and Answers
To insert a drop-down calendar in Word, begin by selecting the 'Developer' tab and clicking on 'Date Picker Content Control'. This tool lets users pick dates easily, which is especially helpful when you want to Add Date To Word Employment Templates. It adds a level of interactivity that improves user experience.
Tips to Add Date To Word Employment Templates For Free
- Open the Word employment template you wish to edit.
- Click on the area where you want to add the date.
- Go to the 'Insert' tab on the top menu.
- Select 'Date & Time' from the options provided.
- Choose the format you want for the date and click 'OK'.
- Resize or align the date as needed within the template.
Adding the date to Word employment templates is a simple process. Just follow the steps above to insert the date in the desired format. This editing feature may be needed when you want to keep track of when an employment document was created or updated, providing clarity and organization to your records.
Related Searches
How to insert the current date in Word Place your cursor in the location where you want to insert the date. Select the "Insert" tab from the top banner. Navigate to the "Text" group. Click "Date & Time." Choose the desired format of the date from the menu that appears. Press "OK" to finalize these changes. Insert a CreateDate field in the template. You can go through Insert > Quick Parts > Field, but it's quicker just to press Ctrl+F9 to make a ... Using the Date field will add 'today's date' when the document is created from the template/stationery, but it will reset the date to the current date whenever ... If you want to put a date in a template that updates to the current date when a document is created based on the template, or want to change the format or ... Insert a Date and Time Field · Click the Insert tab. · Click the Date and Time button. Fields · Select a date format. · Check the Update automatically check box. If ... Open the Word document you want to add the date stamp to. · Click on the Insert tab located in the ribbon at the top of the screen. · Look for the Date and Time ... Place the cursor where you want the Date Picker Content Control to be inserted in the document. Go back to the 'Developer' tab on the Ribbon. There are several ... In this post, we're giving you a tip on how to create a Word document with self updating date and time stamps so you have one less thing to worry about. Click the Insert tab. In the "Text" area, select Date & Time. Choose the format you want. Select Update automatically if it is ... Word for Windows (2010 and 2007) · Click the Insert tab. In the "Text" area, select Date & Time. · Choose the format you want. · Select Update ...
Industry-leading security and compliance
-
In businnes since 1997Over 25 years providing professional legal documents.
-
Accredited businessGuarantees that a business meets BBB accreditation standards in the US and Canada.
-
Secured by BraintreeValidated Level 1 PCI DSS compliant payment gateway that accepts most major credit and debit card brands from across the globe.
-
VeriSign secured#1 Internet-trusted security seal. Ensures that a website is free of malware attacks.