Add Date To Word Deed Templates For Free
How it works
-

Import your Deed Forms from your device or the cloud, or use other available upload options.
-

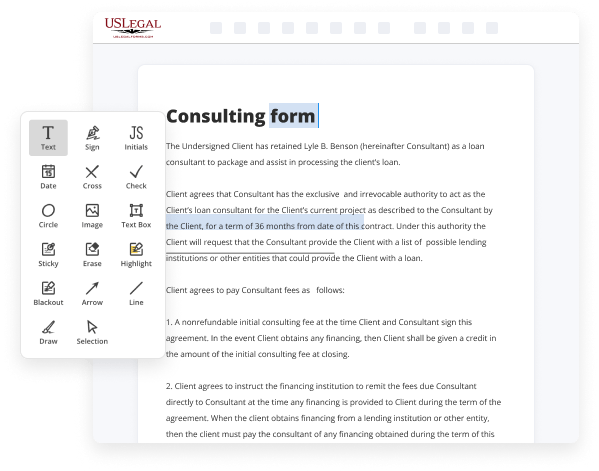
Make all necessary changes in your paperwork — add text, checks or cross marks, images, drawings, and more.
-

Sign your Deed Forms with a legally-binding electronic signature within clicks.
-
Download your completed work, export it to the cloud, print it out, or share it with others using any available methods.
How to Add Date To Word Deed Templates For Free
Legal documentation necessitates utmost precision and timely execution. Although printing and completing forms often consumes a significant amount of time, web-based document editors reveal their usefulness and effectiveness. Our platform is available to you if you are looking for a trustworthy and user-friendly tool to Quickly and Securely Add Date To Word Deed Templates For Free. Once you experience it, you will be amazed at how simple handling official documents can be.
Click Done when you are prepared and select where to store your form - download it to your device or export it to the cloud in any file format you require. Share a copy with others or send it to them for signature via email, a signing link, SMS, or fax. Request online notarization and have your form quickly certified. Imagine accomplishing all the aforementioned manually in writing when even a single mistake compels you to reprint and re-complete all the data from scratch! With online solutions like ours, tasks become considerably easier. Give it a try now!
- Upload your template via one of the accessible methods - from your device, cloud storage, or PDF library.
- You can also acquire it from an email or direct link or by requesting it from someone else.
- Use the top toolbar to complete your document: start entering text in input areas and click on the box fields to choose suitable options.
- Make other necessary adjustments: add images, lines, or symbols, emphasize or eliminate certain details, etc.
- Utilize our side tools to arrange pages - insert new sheets, reorder them, eliminate unwanted pages, add page numbers if they are absent, etc.
- Include additional fields in your document requesting various types of information and apply watermarks to safeguard the content from unauthorized duplication.
- Confirm that all details are accurate and sign your paperwork - generate a legally-binding eSignature in your chosen manner and position the current date beside it.

Benefits of Editing Deed Forms Online
Top Questions and Answers
Yes, you can change the date created on a Word document, but it requires some advanced steps. You might need to modify the document properties through 'File' -> 'Info' -> 'Properties.' However, keep in mind that this does not change the original creation date but is a workaround if you aim to manage dates within your Word deed templates.
Related Features
Tips to Add Date To Word Deed Templates For Free
- Open Microsoft Word and navigate to the deed template you want to add a date to.
- Click on the location within the document where you want to insert the date.
- Go to the 'Insert' tab on the top menu and click on 'Date & Time'.
- Select the date format you prefer and click 'OK' to insert the current date to the template.
- Make sure to save the changes before closing the document.
Adding a date to Word deed templates is a simple process. You just need to navigate to the desired location within the document, insert the date using the 'Date & Time' function in the 'Insert' tab, and save the changes. This feature may be needed when you want to ensure that the deed template reflects the most up-to-date information, such as the date of signing or filing.
Related Searches
Insert a date that updates automatically On the Insert tab, in the Text group, click Date & Time. In the Date and time dialog box, select the format you want. Select the Update automatically check box. The date is inserted as a field and will update automatically. Insert a CreateDate field in the template. You can go through Insert > Quick Parts > Field, but it's quicker just to press Ctrl+F9 to make a ... Insert a Date and Time Field · Click the Insert tab. · Click the Date and Time button. Fields · Select a date format. · Check the Update automatically check box. If ... Keep the text of click or tap to enter a date selected in the Date picker, and click Insert > Date & Time. See screenshot: 6. In the Date and Time dialog box, ... Click the Insert tab. · In the Text group, click the Date and Time button. · Use the Date and Time dialog box to choose a format. · If desired, ... Insert today's date in a Word document On the Insert tab, in the Text group, click Date & Time. In the Date and time dialog box, select the format you want and ... On a PC, navigate to where you want to enter the date field and then press on Shift + Alt + D together. On a Mac, press on Shift + Ctrl + D. Important: The date ... Click the cursor wherever you want it to go; Select Insert > Quick Parts > Document Property > Title. Share. To insert the date or time into a header or footer: · Double-click anywhere on the header or footer to unlock it. · The Design tab will appear. · The Date and Time ... Word keeps track of the title and other document properties and uses them to fill in the fields you insert into your documents. You can insert a field in a ...
Industry-leading security and compliance
-
In businnes since 1997Over 25 years providing professional legal documents.
-
Accredited businessGuarantees that a business meets BBB accreditation standards in the US and Canada.
-
Secured by BraintreeValidated Level 1 PCI DSS compliant payment gateway that accepts most major credit and debit card brands from across the globe.
-
VeriSign secured#1 Internet-trusted security seal. Ensures that a website is free of malware attacks.