Add a Date Field Word Copyright Assignment Templates For Free
How it works
-
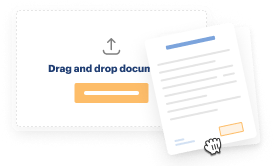
Import your Copyright Assignment Forms from your device or the cloud, or use other available upload options.
-
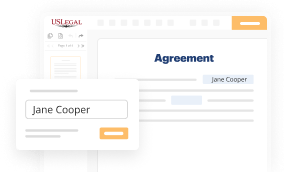
Make all necessary changes in your paperwork — add text, checks or cross marks, images, drawings, and more.
-

Sign your Copyright Assignment Forms with a legally-binding electronic signature within clicks.
-
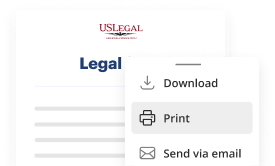
Download your completed work, export it to the cloud, print it out, or share it with others using any available methods.
How to Add a Date Field Word Copyright Assignment Templates For Free
Online PDF editors have demonstrated their trustworthiness and effectiveness for legal paperwork execution. Use our safe, fast, and straightforward service to Add a Date Field Word Copyright Assignment Templates For Free your documents any time you need them, with minimum effort and greatest accuracy.
Make these simple steps to Add a Date Field Word Copyright Assignment Templates For Free online:
- Import a file to the editor. You can select from several options - upload it from your device or the cloud or import it from a template library, external URL, or email attachment.
- Fill out the blank fields. Place the cursor on the first empty field and make use of our editor’s navigation to move step-by-step to avoid missing anything on your template. Use Text, Initials, Cross, and Check features.
- Make your necessary edits. Update the form with inserted images, draw lines and signs, highlight significant components, or erase any unnecessary ones.
- Create additional fillable fields. Adjust the template with a new area for fill-out if neccessary. Utilize the right-side tool pane for this, drop each field where you expect others to leave their details, and make the rest of the fields required, optional, or conditional.
- Organize your pages. Delete sheets you don’t need any longer or create new ones while using appropriate button, rotate them, or alter their order.
- Create electronic signatures. Click on the Sign option and choose how you’d add your signature to the form - by typing your name, drawing it, uploading its picture, or utilizing a QR code.
- Share and send for eSigning. End your editing with the Done button and send your copy to other parties for approval via an email request, with a Link to Fill option, in an SMS or fax message. Request a quick online notarization if required.
- Save the file in the format you need. Download your paperwork, save it to cloud storage in its present format, or transform it as you need.
And that’s how you can prepare and share any individual or business legal paperwork in minutes. Try it now!
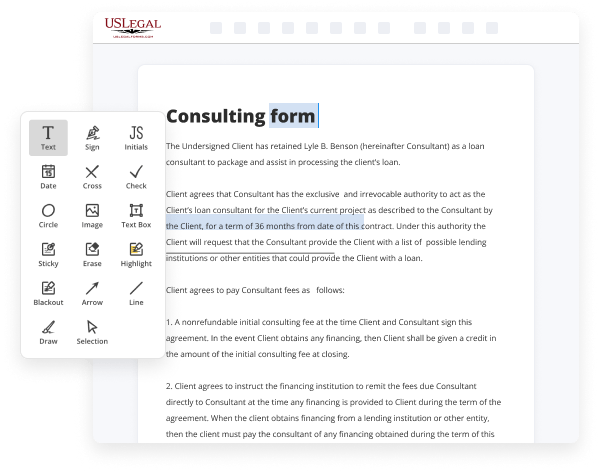
Benefits of Editing Copyright Assignment Forms Online
Top Questions and Answers
Open the Word document you want to add the date stamp to. Click on the Insert tab located in the ribbon at the top of the screen. Look for the Date and Time icon (which looks like a calendar) and click on it. Select a date format that you want to use from the available options.
Tips to Add a Date Field Word Copyright Assignment Templates For Free
- Open your Word document and navigate to the section where you want to add the date field.
- Go to the 'Insert' tab in the toolbar.
- Click on 'Quick Parts' and select 'Field' from the dropdown menu.
- In the 'Field names' list, choose 'Date' or 'CreateDate' depending on your needs.
- Customize the format of the date in the 'Field properties' section if desired.
- Click 'OK' to insert the date field into your document.
- Save your document to ensure the date field is preserved.
This editing feature may be needed when you want to ensure that your copyright assignment templates include the date of creation or modification, providing clear documentation for legal purposes.
Related Searches
Modify your documents and Insert Date Field to the Copyright Assignment Form on any device without breaking a sweat. Assign the date to a variable (technically, a "bookmark") called the_date . How to insert content controls in Word documents. Date pickers and dropdown lists. For the 2003, 2007, and 2010 versions of MS Word, click the Insert tab, and select Field in the menu. Display the Insert tab of the ribbon. Click Quick Parts (in the Text group) and then click Fields. First and foremost, click "Developer". If you use a Date field, unlink it after adding. We will overview the differences between as.
Industry-leading security and compliance
-
In businnes since 1997Over 25 years providing professional legal documents.
-
Accredited businessGuarantees that a business meets BBB accreditation standards in the US and Canada.
-
Secured by BraintreeValidated Level 1 PCI DSS compliant payment gateway that accepts most major credit and debit card brands from across the globe.
-
VeriSign secured#1 Internet-trusted security seal. Ensures that a website is free of malware attacks.